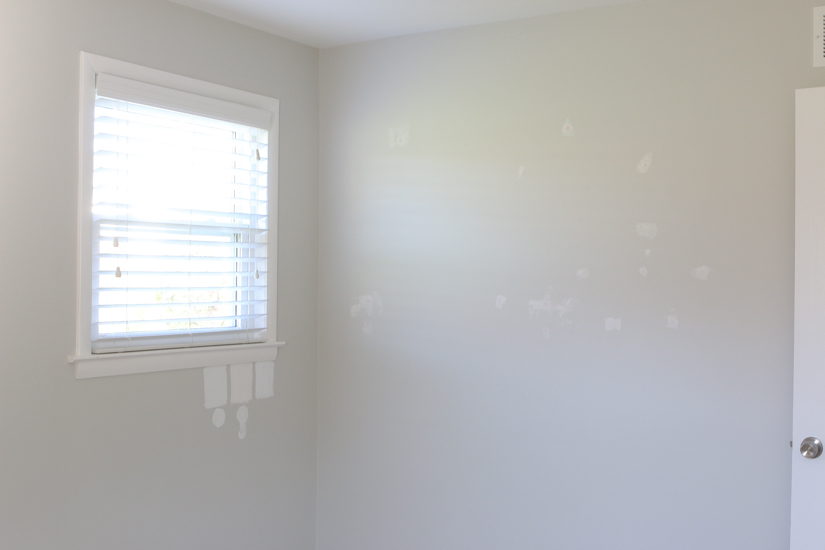
Because nothing brightens up a room like a fresh coat of paint.

Painting is an affordable upgrade that doesn’t take a significant time investment and produces dramatic results. We’re confident that this weekend DIY will instantly make your space feel fresh, clean and reflective of your individual style.
Supplies
- Drop cloths
- Spackling
- Putty knife
- Sandpaper
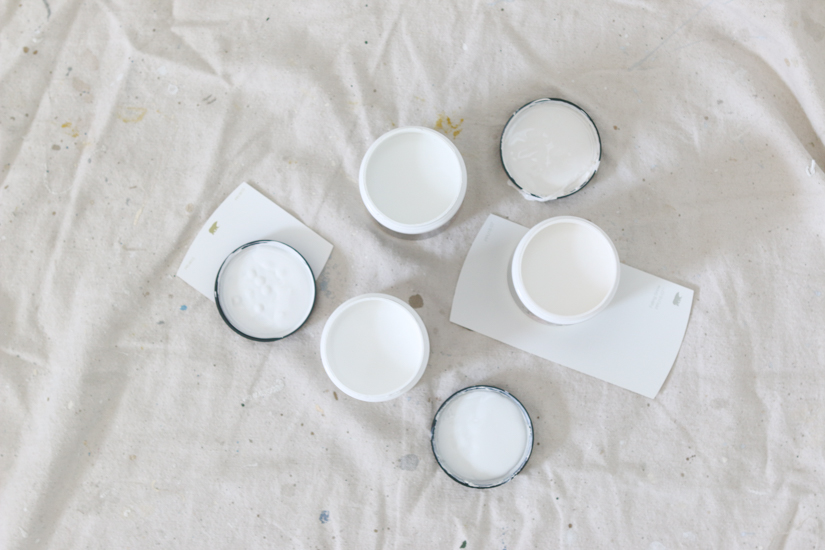
- Paint
- Paintbrush
- Paint roller (optional: roller extension)
- Roller sleeve (the length of the nap on the sleeve will depend on what type of surface you’re covering)
- Paint tray
- Painter’s tape
- Ziploc bag
- Marker
- Razor blade
- Ladder
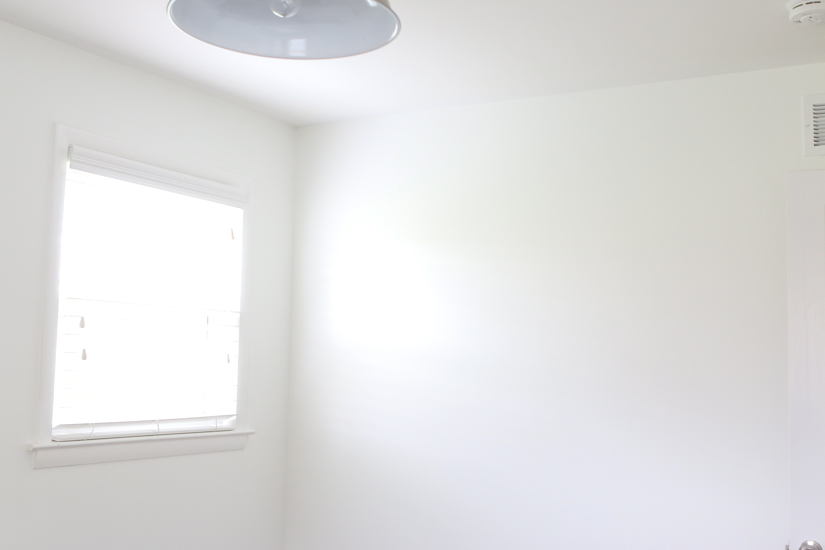
Step 1: Clear and protect the room
Removing every single piece of furniture may not always be realistic, but removing as much as possible is a great start. Then, cover the entire room with drop cloths (or tape down kraft paper if you don’t have that many drop cloths accessible).
Step 2: Clear the walls
Now it’s time to remove everything from your walls. This means removing all the shelves, artwork, framed photos and anything else that may be attached to the walls.
After taking everything down, remove the nails, screws and anchors that were holding up these prized possessions. You should be able to remove nails by simply pulling them out with your hand or the claw end of a hammer.
Some of the anchors may screw out, but for those that don’t, you’ll need a razor blade to cut off the anchor head. The anchor’s base may fall behind the wall or stay lodged inside it. Either option is OK, as long as it’s not interfering with the wall’s surface.
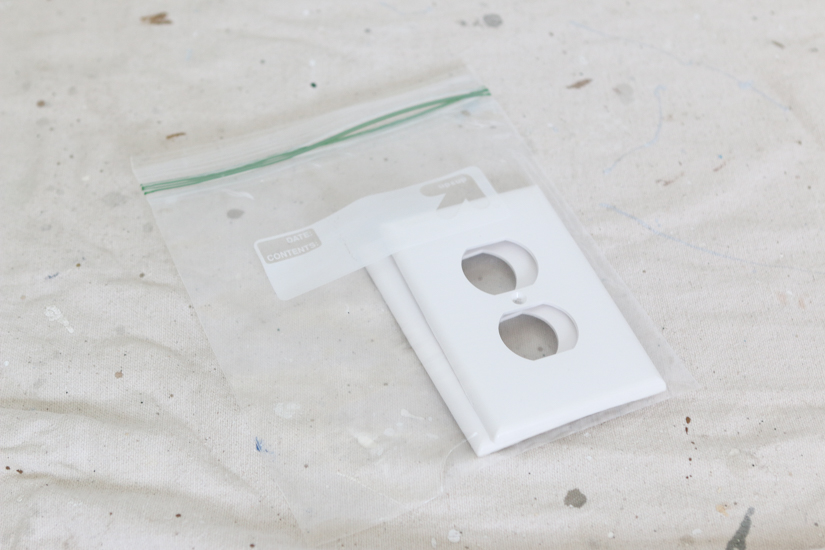
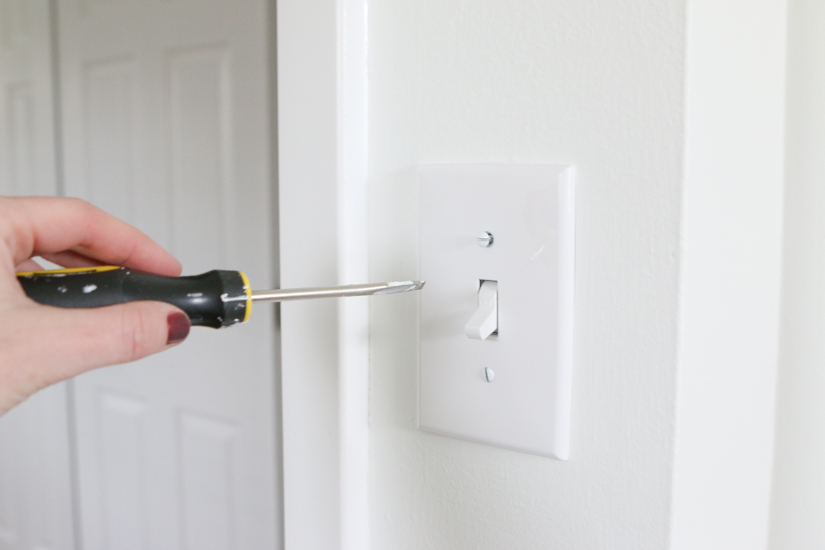
Rookie tip: Now’s also the time to remove the cover plates on all the light switches and outlets. Store these plates and tiny screws in a labeled Ziploc bag so you don’t lose any of these small parts while painting.
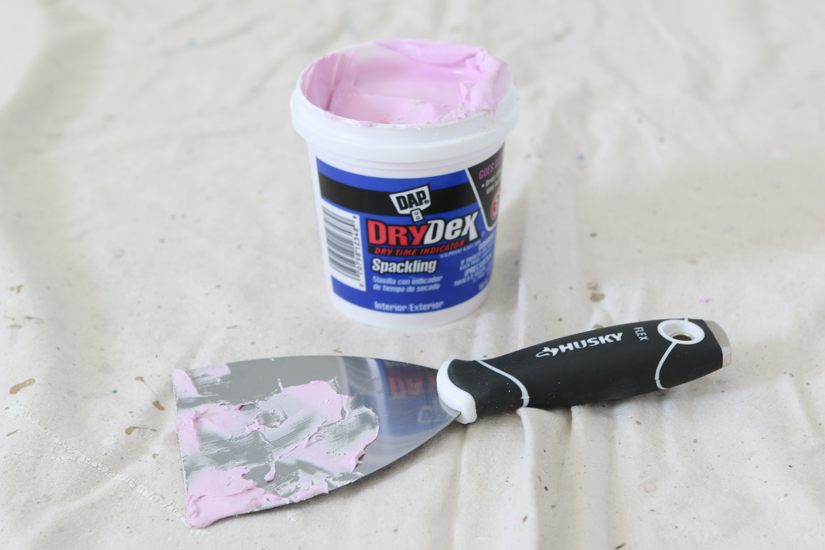
Step 3: Spackle
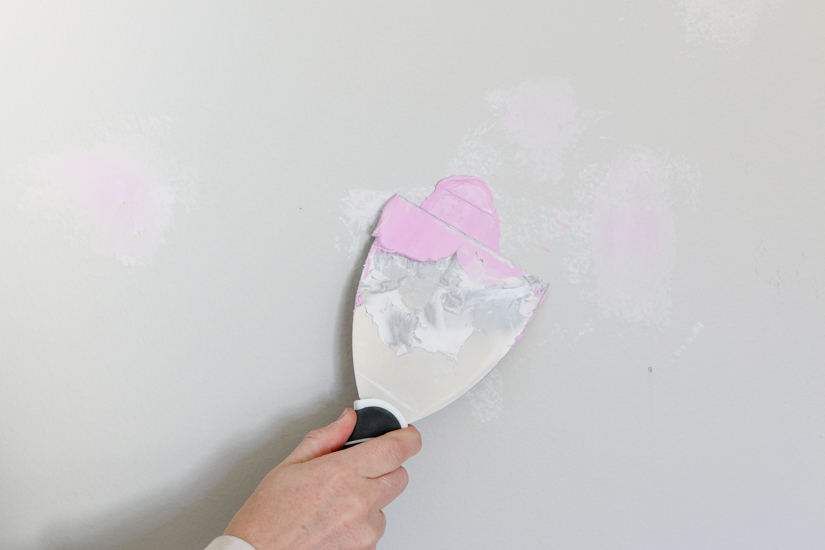
After removing the nails and anchors, you’re bound to be left with some holes that need patching before painting. This is when you should use your spackle and putty knife to apply the spackle evenly around each hole. Smooth out the layer of spackle as much as possible with the putty knife to remove any excess spackle from the wall.
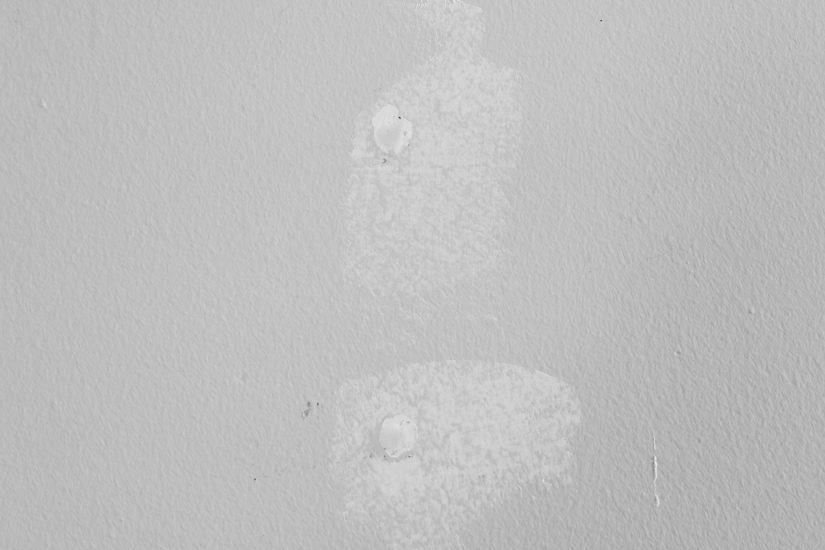
Once all the holes are patched, allow the spackle to dry. Then use 120-150 grit sandpaper to sand down the excess (and dried) spackle. If you slide your hand over the smoothed spot and cannot see or feel any dimples, then the spackling is complete.
If the wall is still imperfect or there are still signs of the old hole, repeat this step one to three more times until the hole is flush with the rest of the wall.
Rookie tip: The sanding after the spackling creates a lot of dust, so shut the doors to the room, cover any nearby furniture, and lightly wipe down the walls and baseboards before moving on to the next step.
Step 4: Tape the edges
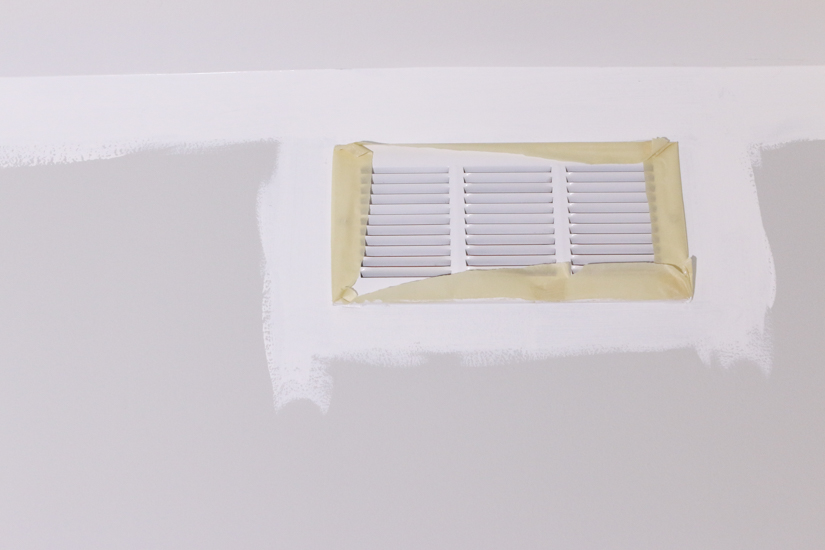
To protect the baseboards, doors, windows, outlets and ceiling from getting paint on them, tape out the border of your entire project with painter’s tape.
Precisely place painter’s tape around every edge or border in the room, including baseboards, windows, doors, electrical outlets, vents and especially where the wall hits the ceiling.
When you remove the tape after painting, you’re left with clean, pristine lines. This takes a while to do right, but it is well worth the effort.


Step 5: Prime the walls
It’s prime time! You’ll need to apply a primer on the walls if you’re covering up darker paint, painting drywall for the first time or using certain types of paint.
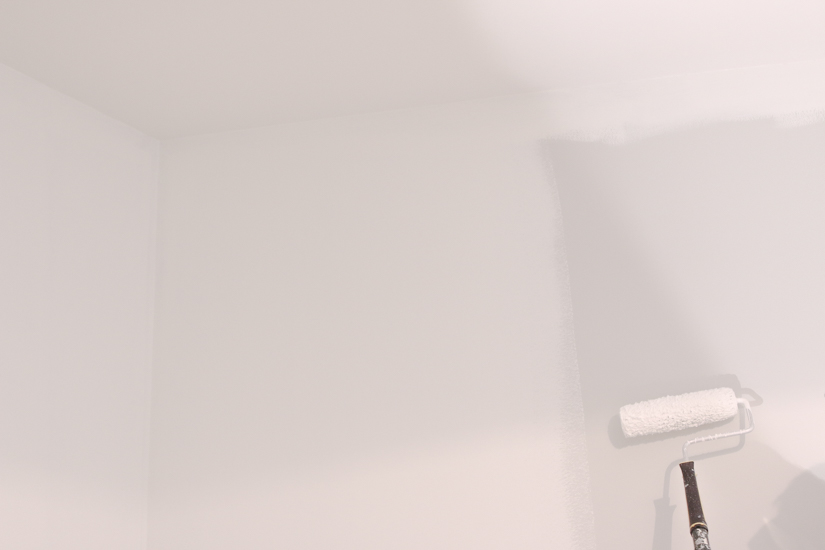
The good news is that you apply both primer and paint the same way. Start by cutting in all of the borders with a paintbrush, then use a roller to paint (or prime) inside of these lines.

Rookie tip: We recommend investing in a quality paintbrush, because this makes application easier — and the end product will look better. Once you invest in a quality paintbrush, you can use it for all of your painting projects, as long as you clean and store it properly.
Step 6: Apply the paint
After the primer dries, follow step five to apply the paint.
One coat of paint will cover some surfaces, but we always like to apply two separate coats just to be sure. Honestly, it all depends on your walls, the colors and the paint you’re using, so you probably won’t know how many coats you need until you’ve started painting.
Step 7: Clean up
Once the paint is dry, carefully peel away all of the painter’s tape and throw it away. Then roll up all of the drop cloths and shake them out outside.
You’ll probably want to wipe down the floor to remove the sanding dust that may have slipped through the drop cloths.
Then, replace the outlet and light switch cover plates, and carefully move the furniture back into the room.
Now just sit back, relax and enjoy this gorgeous new space. You’ve earned it!
If you would like a FREE comparative market analysis on your home, please call us, CENTURY 21 Alliance Realty at 352-686-0000.
Source: https://www.zillow.com/resources/stay-informed/2021/09/02/how-to-paint-a-room/
No Comments